
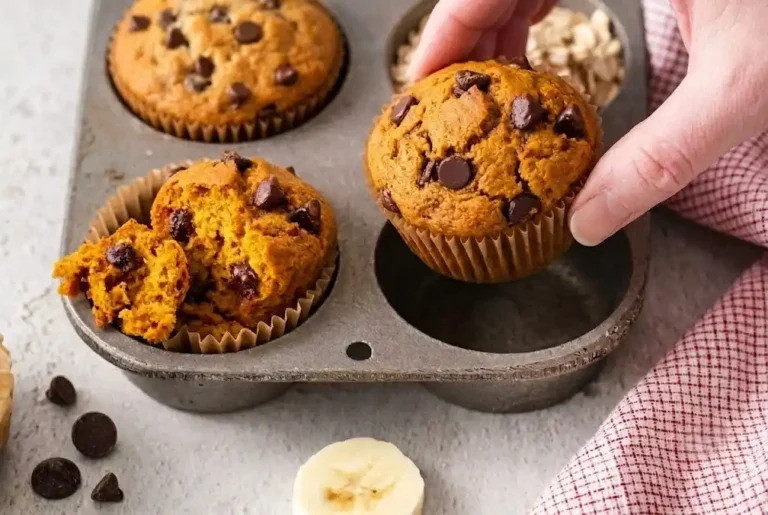
Oat flour banana muffins are soft, naturally sweetened muffins made entirely with oat flour instead of wheat flour, and they’ve quietly become the most-baked recipe in my kitchen this year. No wheat flour, no fuss, no complicated technique — just a handful of pantry staples and about 35 minutes between you and the best healthy banana muffins you’ve made. If you’ve got a few overly spotty bananas sitting on your counter right now, you’re already halfway there.
I started making this batch back in January when I was hunting for a wholesome breakfast I could grab on my way out the door, and honestly, they never make it past day three in my house. My kids toss them in their lunch box for school snacks, I crumble one over yogurt most mornings (similar to how I top my peanut butter overnight oats), and once the weather turns cool, this is the first thing that goes into the oven when cozy fall baking season rolls around.
What makes this recipe worth bookmarking is how forgiving it is. It’s perfect for beginners, anyone avoiding gluten, and busy home cooks who want a one-bowl muffin that holds its moisture instead of drying out by the next day. The batter comes together in about 10 minutes flat, and since these muffins freeze beautifully, they’ve become one of my go-to meal prep recipes for hectic weeks — right up there with my chicken burrito bowl meal prep on Sunday prep days.
Why You’ll Love This Recipe
- One bowl, ten minutes of prep. No mixer, no fancy equipment — just mash, whisk, fold, and bake.
- Naturally gluten-free and wholesome. Made with 100% oat flour, which brings a lovely nutty flavor and extra fiber to the table. If you need a certified gluten-free batch, just grab certified GF oat flour at the store. According to Healthline’s guide on oats and gluten, pure oats are naturally gluten-free but can be cross-contaminated during processing, so certified GF labeling matters if you’re baking for someone with celiac disease.
- Moist and fluffy, never dense. Oat flour has a reputation for turning out heavy, gummy baked goods, but the ratio I’ve landed on here (plus a couple of tricks below) gives you tall, tender muffins every single time.
- Naturally sweetened options. Ripe bananas do most of the heavy lifting on sweetness, so you can swap the brown sugar for maple syrup or honey if you’d rather skip the refined sugar.
Equipment Needed
You won’t need anything fancy for this one — it’s a beginner-friendly recipe from start to finish.
- 12-cup muffin pan with paper liners — liners make cleanup effortless and keep the muffins from sticking, since oat flour batter clings to metal more stubbornly than a wheat-based batter does.
- Large mixing bowl — this is genuinely a one-bowl recipe, so grab something roomy enough to fold without splashing batter everywhere.
- Whisk and a flexible spatula — the whisk handles the wet ingredients, while the spatula is for gentle folding. Over-mixing is the enemy of a fluffy muffin, so a soft-edged spatula helps you stay gentle.
- Fork or potato masher — for mashing the bananas. A few small lumps are totally fine, and honestly, they add nice pockets of banana flavor.
- Measuring cups and spoons, or a kitchen scale — oat flour packs down easily in the cup, so weighing it (about 220g for 2½ cups) is the single best way to avoid dry, dense muffins. This one small habit changed my results more than anything else. King Arthur Baking’s flour weight chart is a great reference if you bake often and want to weigh other flours too.
- Wire cooling rack — letting the muffins finish cooling outside the hot pan keeps the bottoms from steaming and turning soggy underneath.
Ingredients (with substitution notes)
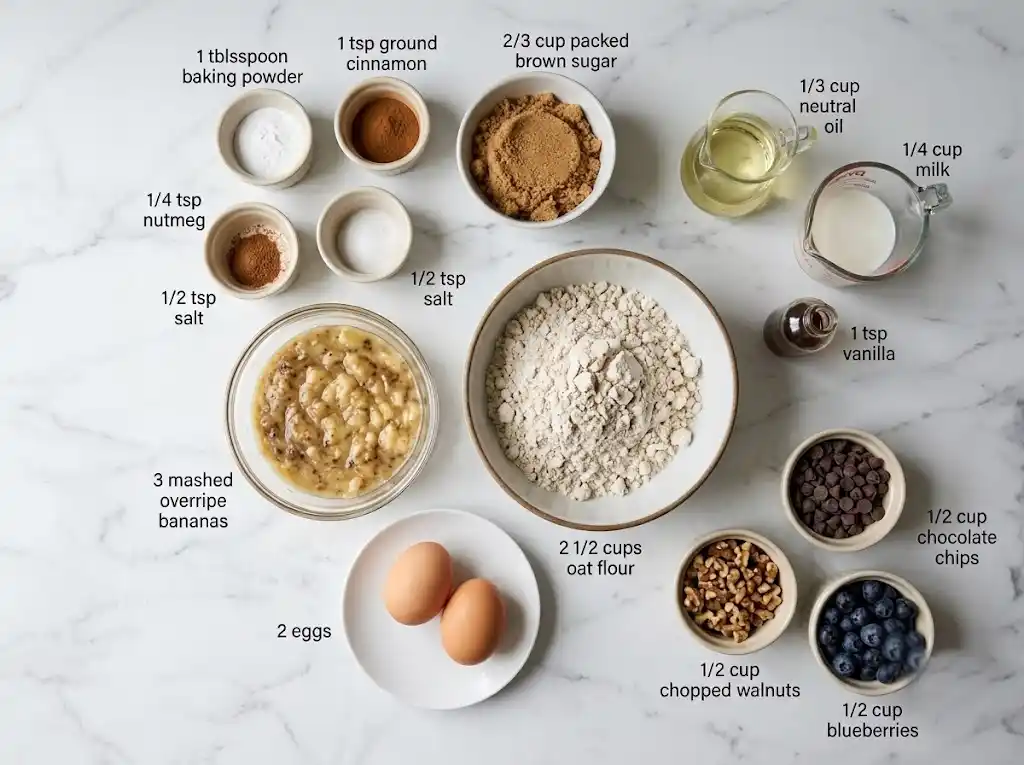
Here’s everything you need, along with why each ingredient earns its spot in the bowl:
- 2½ cups oat flour (about 220g) — the star of the show. Finely ground store-bought oat flour gives the fluffiest texture. Homemade works too (see the FAQ below), just make sure to blend it very fine.
- 1 tbsp baking powder — yes, a full tablespoon. Oat flour is heavier than all-purpose flour, so it needs the extra lift. Double-check that yours is fresh, since old baking powder is a common culprit behind flat muffins.
- 1 tsp ground cinnamon — brings warmth and that classic banana-bread flavor everyone recognizes.
- ¼ tsp ground nutmeg — optional, but it adds a subtle bakery-style depth I always miss when I skip it.
- ½ tsp salt — balances the sweetness and makes the banana flavor pop rather than fade into the background.
- 3 large overripe bananas (about 1½ cups mashed, or 300g) — the spottier, the better. They provide sweetness, moisture, and structure all at once.
- ⅔ cup brown sugar (light or dark) — adds moisture and a hint of caramel. Swap for ½ cup maple syrup or honey if you want a naturally sweetened version, and just reduce the milk to 2 tablespoons to keep the batter balanced. If you love naturally sweetened baked goods, you’ll probably enjoy my canned peach cobbler too.
- 2 large eggs, room temperature — bind everything together and help the muffins rise properly. Check the FAQ for egg-free swaps.
- ⅓ cup neutral oil — avocado, canola, or melted coconut oil all work well. Oil keeps these muffins moist for days in a way butter simply doesn’t manage.
- ¼ cup milk of choice — dairy or non-dairy, either is fine. This loosens the batter just enough for a tender crumb.
- 1 tsp vanilla extract — rounds out all the other flavors and ties the whole thing together.
- Optional: ½ cup chocolate chips, chopped walnuts, or blueberries — because sometimes a muffin deserves a little extra.
How to Make Oat Flour Banana Muffins (Step-by-Step)
1. Preheat your oven to 350°F (175°C).
Line a 12-cup muffin pan with paper liners. Don’t skip the preheat — oat flour batter needs immediate, steady heat to rise the way it should.
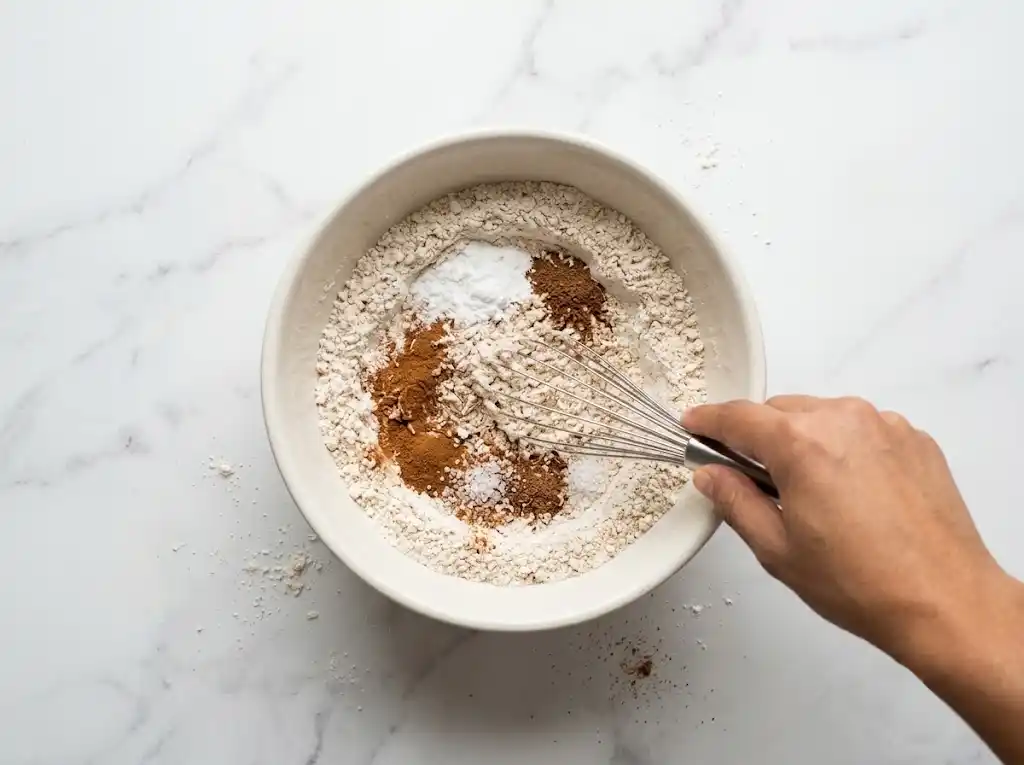
2. Mix the dry ingredients.
In a medium bowl, whisk together the oat flour, baking powder, cinnamon, nutmeg, and salt. This step matters more than it seems: whisking evenly distributes the baking powder, so you won’t end up with any surprise bitter pockets later.
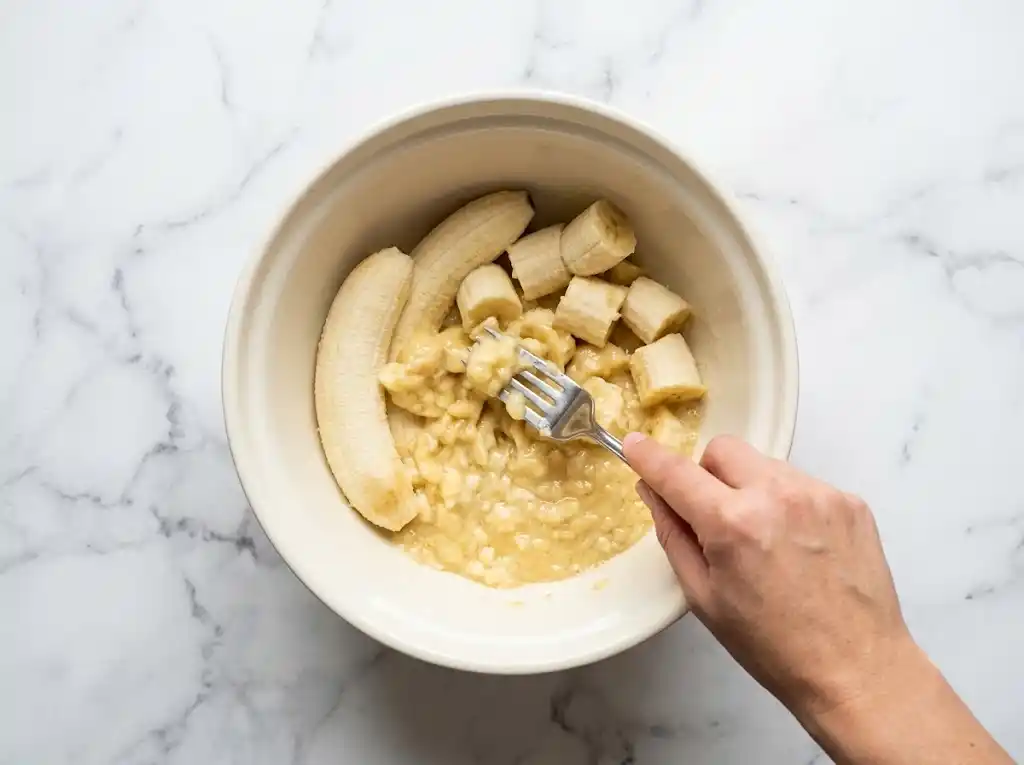
3. Mash the bananas.
In your large bowl, mash the bananas with a fork until mostly smooth. A few small lumps are fine and actually give the muffins little bursts of banana flavor as they bake. You should end up with about 1½ cups mashed banana.
4. Add the wet ingredients.
To the bananas, add the brown sugar, eggs, oil, milk, and vanilla. Whisk until everything looks smooth and glossy, about 30 seconds. The mixture should resemble a thick, pourable custard at this point.
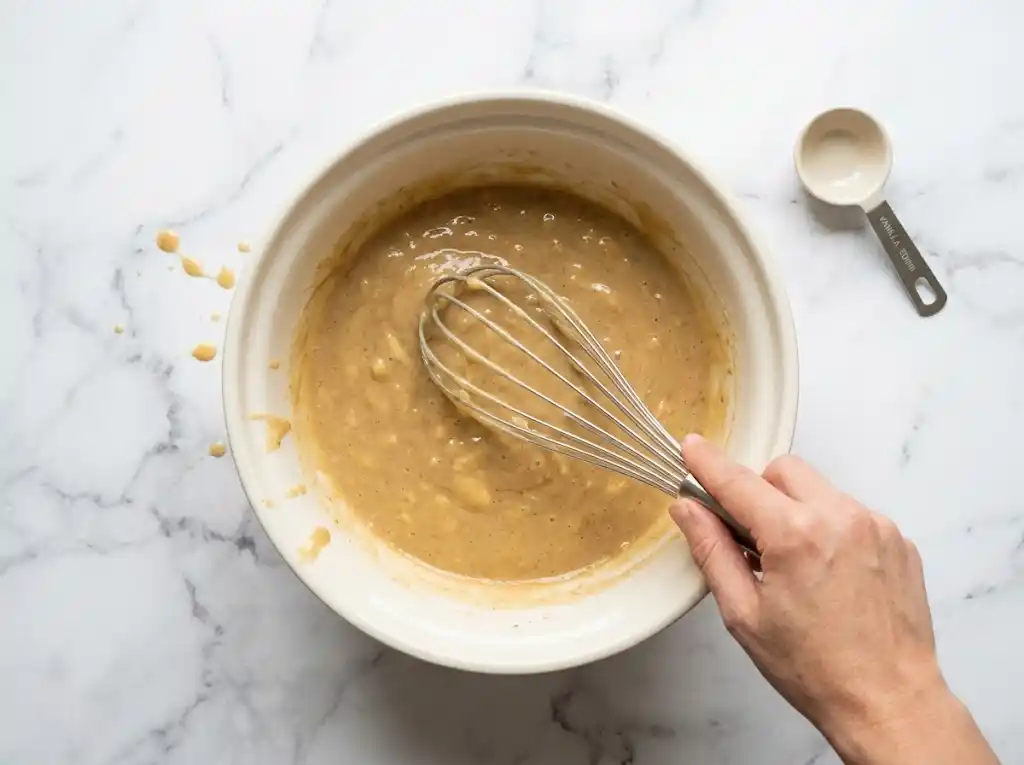
5. Fold in the dry ingredients.
Add the oat flour mixture to the wet ingredients and fold gently with a spatula, just until no dry streaks remain. This is genuinely the most important step in the whole recipe — over-mixing develops a dense, gummy texture, which is the opposite of what you want. Stop the moment the batter comes together. It’ll look thick, and that’s exactly right.
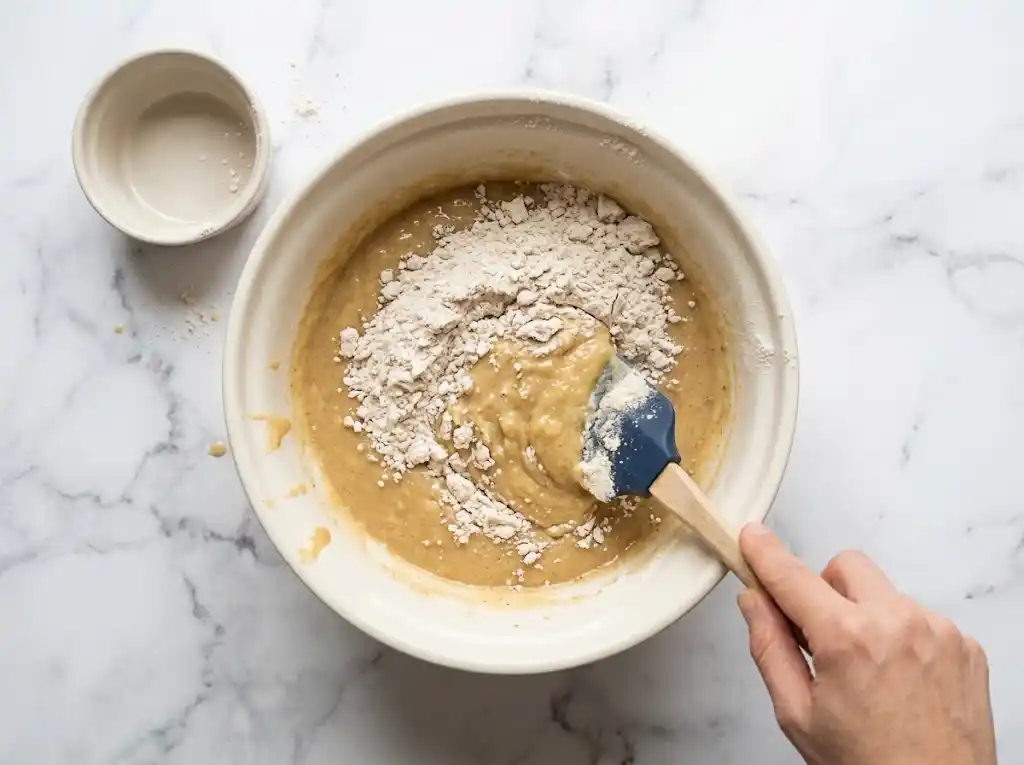
6. Rest the batter for 10 minutes (optional, but worth it).
Oat flour absorbs liquid more slowly than wheat flour does. A short rest lets it fully hydrate, which gives you a thicker batter and taller, fluffier muffin tops once baked. If you’re short on time, you can skip this step, but I never do anymore since I noticed the difference.
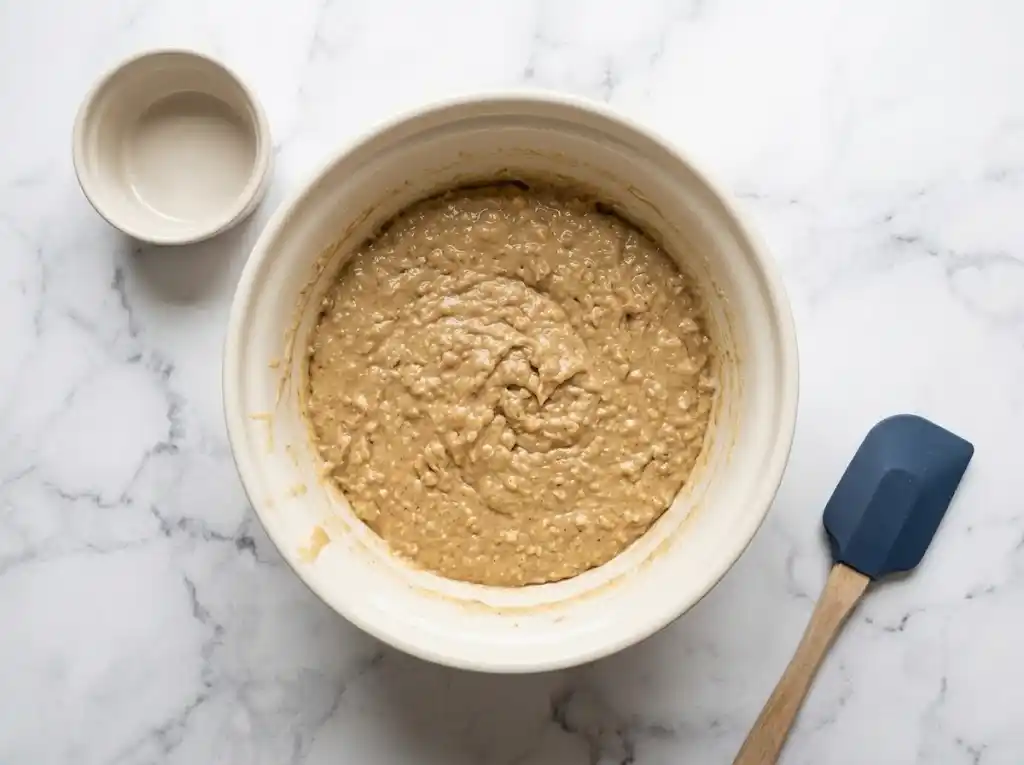
7. Fill the muffin cups.
Divide the batter evenly among the 12 cups, filling each about ¾ full. An ice cream scoop makes this fast and even. Sprinkle on chocolate chips or a few extra oats if you’re feeling a little fancy.
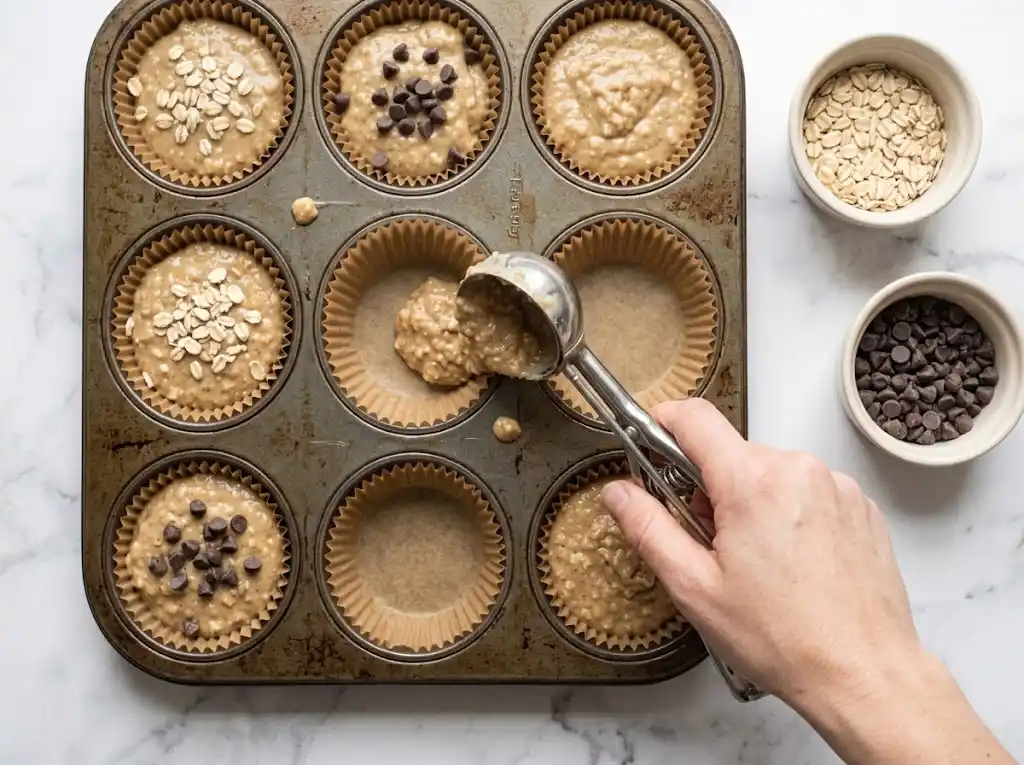
8. Bake for 20–24 minutes.
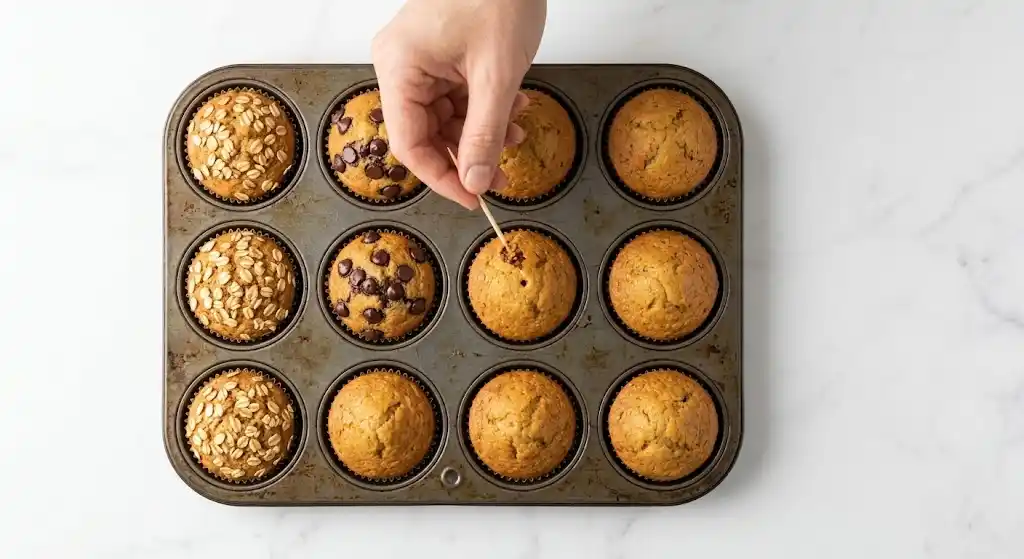
The muffins are ready when the tops turn golden, spring back when lightly pressed, and a toothpick inserted in the center comes out clean or with just a few moist crumbs clinging to it. Your kitchen will start smelling like a bakery around minute 15 — that’s your cue to start checking.
9. Cool properly.
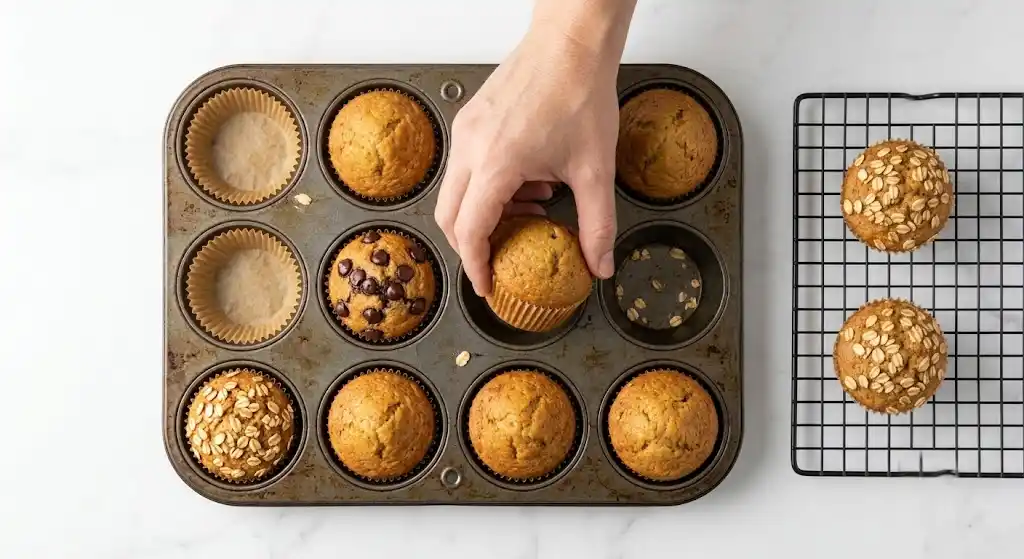
Let the muffins rest in the pan for 5 minutes, then transfer them to a wire rack. Give them at least 15–20 minutes before digging in, since oat flour muffins continue setting as they cool, and cutting in too early can make them seem underbaked when they’re actually not.
Tips for Moist, Fluffy Muffins
These are the small lessons I’ve picked up after baking this recipe more times than I can count:
- Weigh your oat flour. Scooping straight from the bag can pack in 20–30% extra flour, which is the number one cause of dry, dense muffins. 220g is your magic number.
- Use truly overripe bananas. Yellow bananas won’t cut it here. You want heavily spotted or even fully brown peels — that’s where the sweetness and moisture actually live.
- Don’t overmix. Worth repeating: fold gently and stop early. A slightly lumpy batter bakes up fluffier than a perfectly smooth one ever will.
- Check your baking powder. If it’s been open for more than 6 months, test it by stirring ½ teaspoon into hot water. It should fizz vigorously right away. No fizz means no rise, so replace it before you bake.
- For extra-tall, bakery-style tops, start the oven at 425°F (220°C) for the first 5 minutes, then drop it to 350°F (175°C) for the remaining 15–18 minutes. That initial blast of heat gives the muffins a quick burst of lift before they set.
Variations and Add-Ins
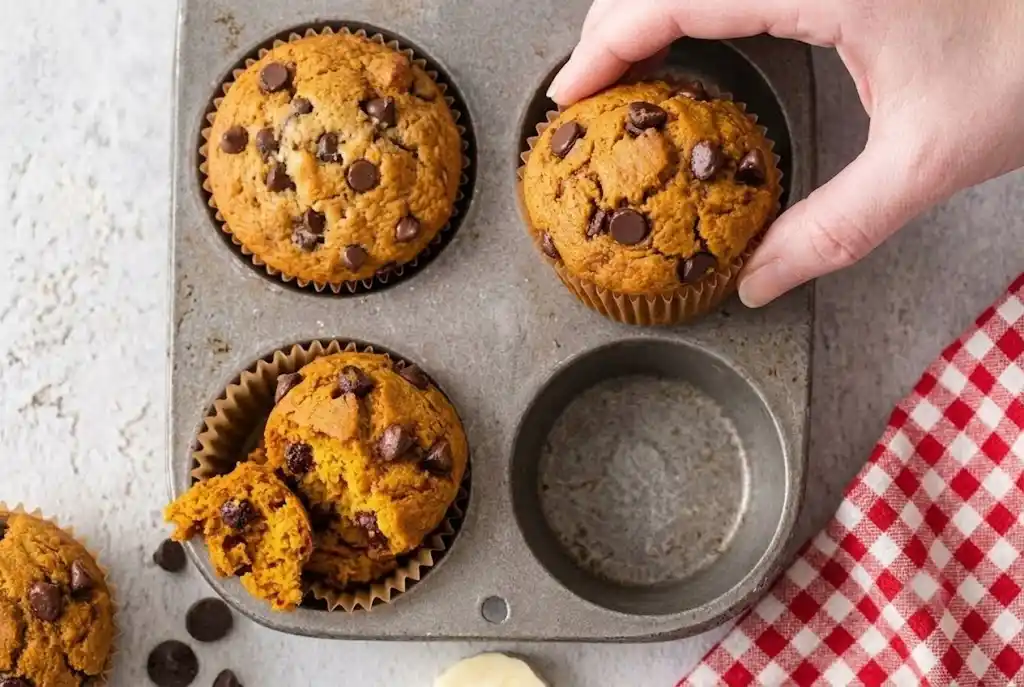
This base recipe is wonderfully flexible, and I’ve played around with just about every version at this point:
- Chocolate chip: Fold in ½ cup dark chocolate chips — the most-requested version in my house, hands down.
- Blueberry: Add ¾ cup fresh or frozen blueberries. If using frozen, toss them in a teaspoon of oat flour first so they don’t sink straight to the bottom.
- Nutty: Fold in ½ cup chopped walnuts or pecans for a bit of crunch.
- Vegan: Replace the eggs with 2 flax eggs (2 tbsp ground flaxseed mixed with 5 tbsp water, rested 10 minutes) and use a non-dairy milk.
- Mini muffins: Perfect for a lunch box — bake at 350°F for 11–13 minutes, and you’ll get about 24 minis out of one batch. Pair a few with my cucumber cottage cheese sandwich for a well-rounded packed lunch.
- Naturally sweetened: Swap the brown sugar for ½ cup maple syrup or honey and reduce the milk to 2 tablespoons.
How to Store and Freeze
These muffins keep remarkably well, which is exactly what makes them such a solid meal prep option for busy weeks.
- Room temperature: Store in an airtight container lined with a paper towel for up to 3 days. The paper towel absorbs excess moisture and keeps the tops from turning sticky.
- Refrigerator: Up to 5 days. Warm one in the microwave for 15–20 seconds and it tastes freshly baked all over again.
- Freezer: Wrap each muffin individually, or freeze them on a tray first and then transfer to a bag, and they’ll keep for up to 3 months. Thaw overnight in the fridge, or microwave straight from frozen for 30–45 seconds. I always keep a batch tucked away in the freezer for holiday mornings and back to school weeks when life gets hectic and breakfast needs to be fast. For more freezer-friendly breakfast ideas, my better-than-Starbucks egg bites copycat freeze just as well.
Recipe FAQs
Can I use homemade oat flour?
Yes. Blend rolled oats in a high-speed blender until very fine, about 60–90 seconds, then sift out any coarse bits and re-blend them. The finer your flour, the fluffier your muffins turn out. That said, store-bought finely ground oat flour still gives the most consistent results if you bake this often.
What’s the best egg substitute?
Flax eggs work well here: 1 tbsp ground flaxseed plus 2½ tbsp water per egg, rested for 10 minutes until it thickens. The muffins will be slightly denser but still good. Unsweetened applesauce, about ¼ cup per egg, also works in a pinch.
Can I make mini muffins?
Absolutely. Fill a mini muffin pan ¾ full and bake at 350°F for 11–13 minutes. This recipe makes about 24 minis, which are great for kids’ snacks and easier portion control.
Why did my muffins turn out dense?
It’s almost always one of three things: too much flour (weigh it next time), an overmixed batter, or old baking powder. Fix those three and you’ll get a fluffy crumb every time you bake.
Can I make these ahead for meal prep?
Yes, this is genuinely one of my favorite meal prep recipes. Bake a double batch on a Sunday, keep half on the counter for the week, and freeze the rest. They thaw quickly, so you’re never more than 45 seconds away from a warm, wholesome breakfast. If you’re building out a full week of make-ahead breakfasts, these muffins pair nicely with my 10-minute frozen Greek yogurt peanut butter bites.
This recipe has been tested and retested in my kitchen to make sure it works every single time, not just once under perfect conditions. If you bake these oat flour banana muffins, I’d love to hear how they turned out for you — leave a comment and a rating below!
Oat Flour Banana Muffins

Equipment
- 12-cup muffin pan with paper liners
- Large Mixing Bowl
- Whisk
- Flexible spatula
- Fork or potato masher
- Measuring cups and spoons or kitchen scale
- Wire cooling rack
Ingredients
- 2 1/2 cups oat flour
- 1 tablespoon baking powder
- 1 teaspoon ground cinnamon
- 1/4 teaspoon ground nutmeg
- 1/2 teaspoon salt
- 3 large overripe bananas mashed
- 2/3 cup brown sugar
- 2 large eggs room temperature
- 1/3 cup neutral oil
- 1/4 cup milk of choice
- 1 teaspoon vanilla extract
- 1/2 cup chocolate chips chopped walnuts, or blueberries, optional
Instructions
- Preheat the oven to 350°F (175°C). Line a 12-cup muffin pan with paper liners.
- In a medium bowl, whisk together the oat flour, baking powder, cinnamon, nutmeg, and salt.
- In a large bowl, mash the bananas until mostly smooth.
- Add the brown sugar, eggs, oil, milk, and vanilla. Whisk until smooth and glossy.
- Add the dry ingredients to the wet ingredients and fold gently just until no dry streaks remain.
- Let the batter rest for 10 minutes, if using.
- Divide the batter evenly among the muffin cups, filling each about 3/4 full. Add any optional mix-ins on top if desired.
- Bake for 20 to 24 minutes, until the tops are golden, spring back when lightly pressed, and a toothpick comes out clean or with a few moist crumbs.
- Cool in the pan for 5 minutes, then transfer to a wire rack to cool for at least 15 to 20 minutes before serving.
Notes

Isabella Rossi
Isabella Rossi is a chef and culinary director with over 20 years of experience in European kitchens. She reviews and approves every recipe to ensure accuracy, balance, and reliable results for home cooks.
VIEW ALL RECIPES