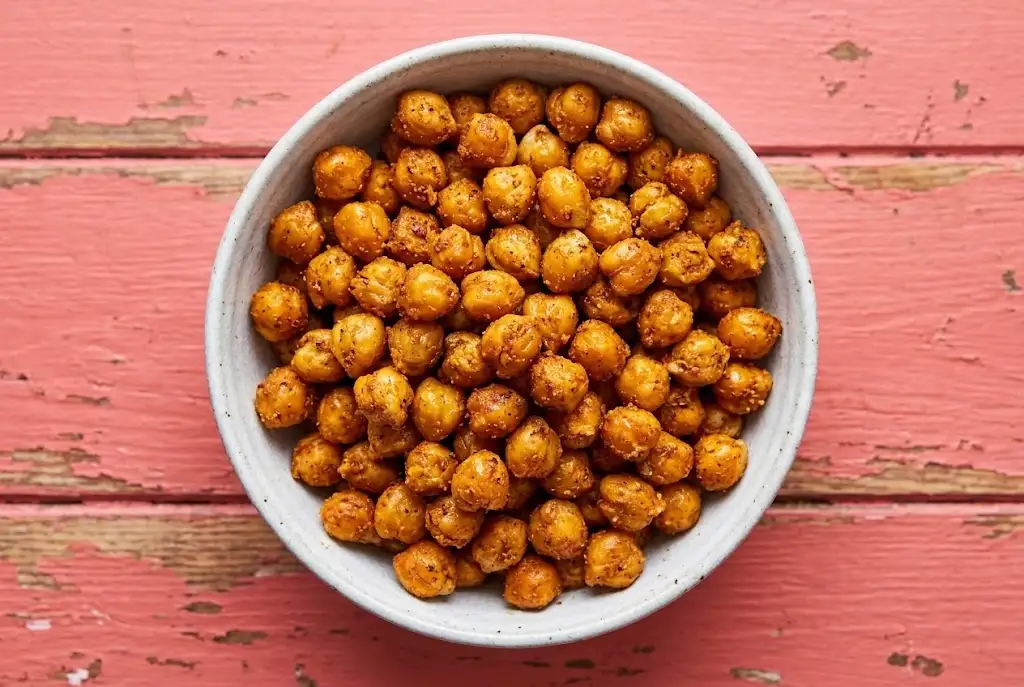

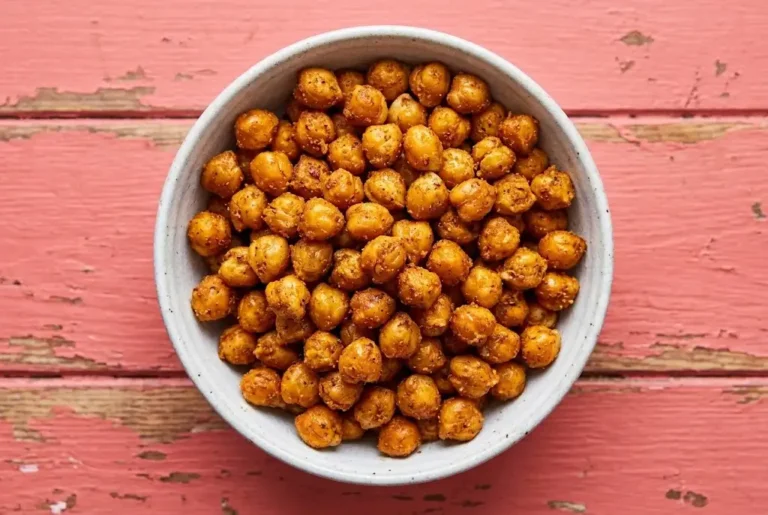
If you’ve ever pulled a batch of air fryer chickpeas out of the basket only to find them chewy in the middle instead of crackly-crisp, you already know the disappointment. It happens to almost everyone the first time, and it’s usually caused by one overlooked step, not a bad air fryer. Once you know what actually makes chickpeas crisp up (and what makes them go soft), this turns into one of the easiest, most reliable snacks in your rotation.
This recipe is for anyone who wants a salty, crunchy bite that doesn’t come from a bag of chips — something to scatter over a salad instead of croutons, stir into a grain bowl for extra protein, or just eat by the handful straight off the sheet pan. It’s naturally vegan and gluten-free, and it comes together with ingredients you probably already have.
Table of Contents
Why You’ll Love This Recipe
- Genuinely crispy, not just “air fryer crispy.” Follow the drying step and you get real crunch, not a soft shell around a mushy center.
- One can, fifteen minutes, done. No soaking, no boiling, no deep frying — just a can of chickpeas and a hot air fryer.
- Endlessly flavorable. The same base recipe works smoky, spicy, ranch-style, or sweet, so it never gets boring.
- A smarter snack. High in fiber and plant protein, and a lot more satisfying than reaching for chips.
The Secret to the Ultimate Crunch
Achieving that irresistible, shatteringly crisp texture with chickpeas comes down to two simple rules: a micro-thin layer of oil and absolutely zero crowding.
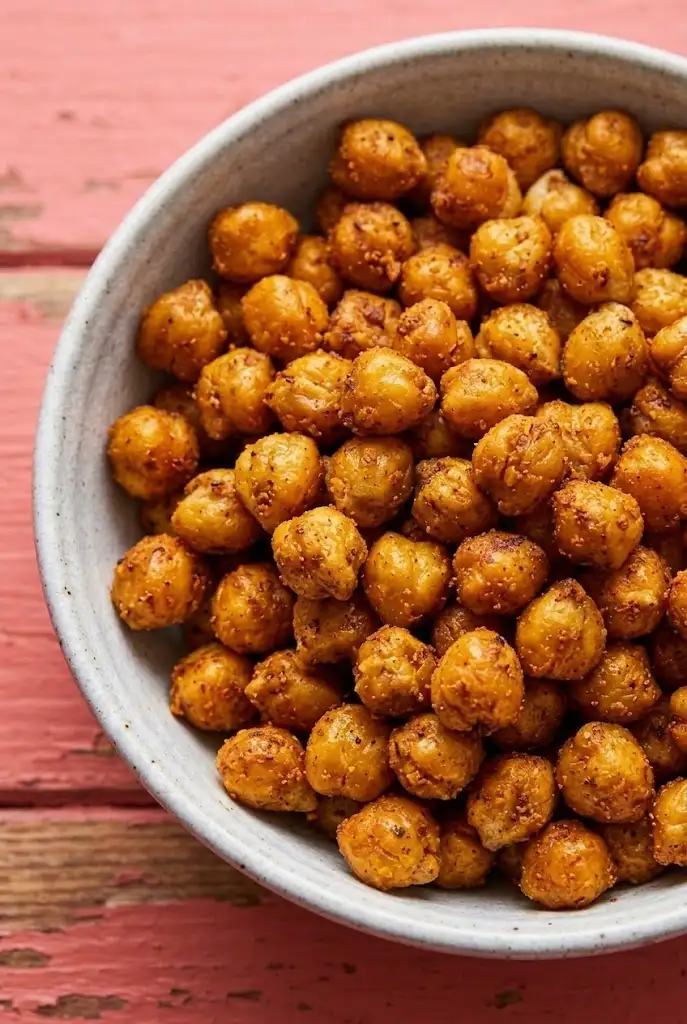
First, ditch the pouring! Drenching them straight from a bottle almost guarantees a soggy center. I swear by using a simple Glass Oil Sprayer to give them just a whisper of oil—it’s the ultimate trick for a perfectly dry, crunchy exterior.
Second, they need breathing room. If you pile them into a standard basket, they just steam each other. That’s why I strongly recommend an oven-style model with wide racks, like the Gourmia 14 Qt Air Fryer Oven. It allows you to spread the chickpeas out in a single, even layer across the trays, letting that super-hot circulating air hit every single angle for an even crisp. (If you’re working with a smaller basket model, definitely cook them in two batches so they actually roast instead of steam!)
What You Need to Make the Best Air Fryer Chickpeas
You will find the exact measurements and full instructions in the printable recipe card at the bottom of this post.
This recipe only needs a handful of ingredients, and each one is doing a specific job:
- Canned chickpeas are the base — already cooked and tender, so all the air fryer needs to do is dry and crisp the outside. Rinsing them well washes off the starchy canning liquid that would otherwise trap moisture, and as a bonus, it rinses away a good portion of the sodium too, since chickpeas are naturally rich in fiber, plant protein, and folate.
- Olive oil (or avocado oil) helps the outside brown and gives the spices something to cling to. A light coating is all you need; too much oil actually slows down crisping.
- Kosher salt goes in with the oil before cooking, since salt doesn’t scorch the way ground spices can.
- Smoked paprika, cumin, garlic powder, and chili powder build the savory flavor. These go on after cooking rather than before — I’ll explain why in the instructions, because it’s the single biggest fix for bitter-tasting chickpeas.
- A touch of sugar is optional, but it rounds out the smoky-salty flavor nicely if you want a slightly sweet-and-savory finish.
One can goes a long way here, and if you’ve got extra chickpeas left over, they’re just as good stirred into a vegan chickpea salad sandwich for lunch the next day.
Best Spice Blends to Try
Once you’ve got the base method down, the seasoning is really just a jumping-off point:
- Smoky and savory: smoked paprika, cumin, garlic powder, chili powder (the base recipe below)
- Ranch-style: garlic powder, onion powder, dried dill, a little black pepper
- Spicy kick: cayenne or extra chili powder with a pinch of smoked paprika
- Sweet and warm: cinnamon and sugar, tossed on right after they come out of the air fryer
Easy Swaps and Substitutions
- No olive oil on hand? Avocado oil or a light, neutral oil works the same way. Cutting the oil down to save fat is possible, but expect slightly less crunch.
- Using dried chickpeas instead of canned? Cook them until fully tender first, then dry them just as thoroughly as you would canned ones before air frying.
- Want extra crunch? A light dusting of cornstarch or chickpea flour tossed with the chickpeas before the oil is a popular trick for an even crispier shell, though it’s completely optional.
How to Make Air Fryer Chickpeas Step-by-Step
Step 1: Drain and Dry the Chickpeas
Drain and rinse the chickpeas under cold water, then spread them over a clean kitchen towel to pat them completely dry. For the best crunch, let them air-dry for 10 to 15 minutes and gently rub off any loose skins.
Step 2: Coat with Oil and Salt
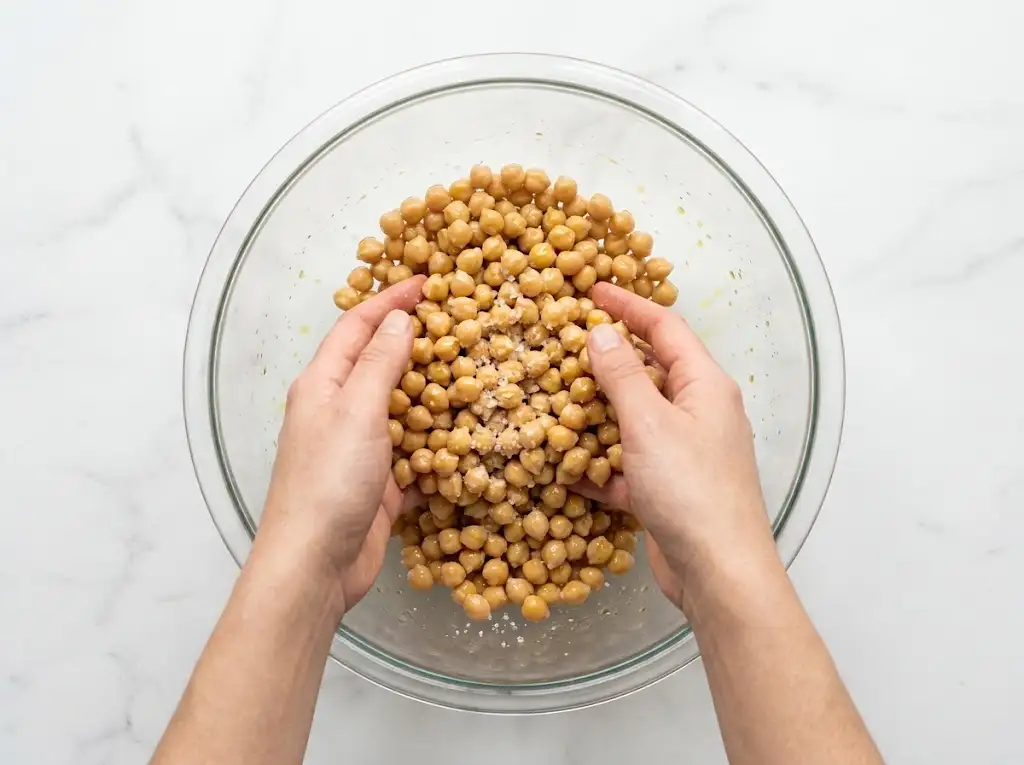
Transfer the fully dried chickpeas to a mixing bowl and toss them with olive oil and salt (plus sugar, if using) until every piece is lightly coated. Hold off on adding the ground spices for now so they don’t burn in the heat.
Step 3: Preheat and Air Fry
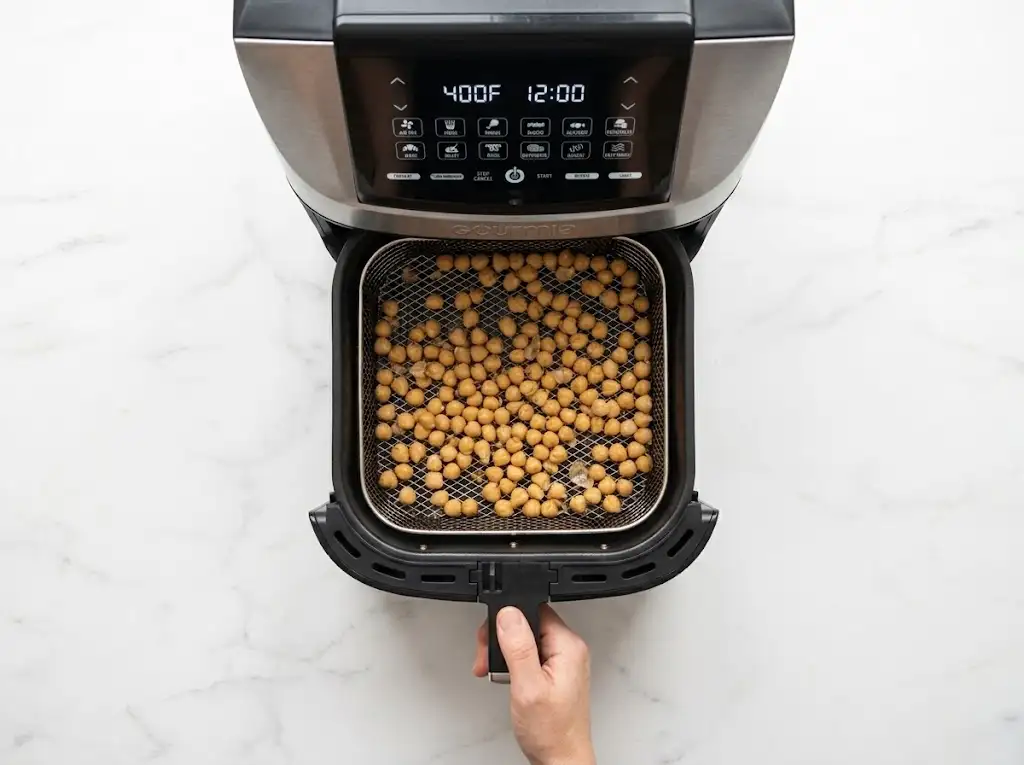
Preheat your air fryer to 390–400°F (200°C) and spread the chickpeas in a single layer in the basket. Air fry for 12 to 15 minutes, shaking the basket every 3 to 4 minutes. Taste one around the 12-minute mark; if it’s still soft, keep going in 2-minute bursts until they are deep golden and audibly crunchy.
Step 4: Toss with Spices and Cool
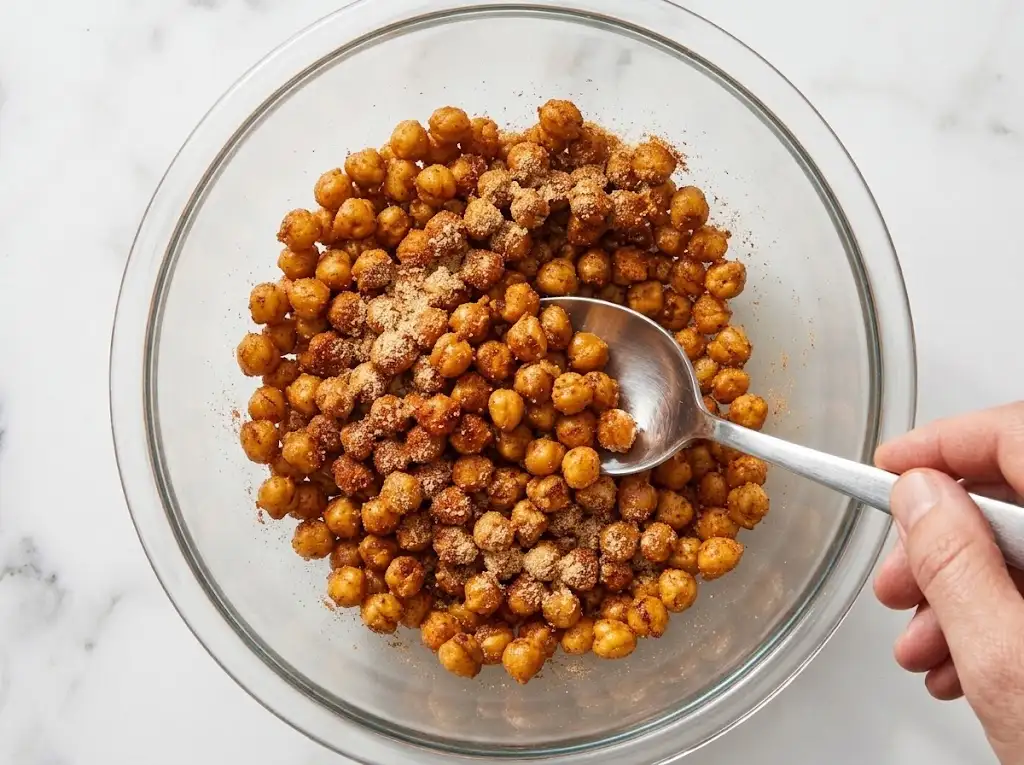
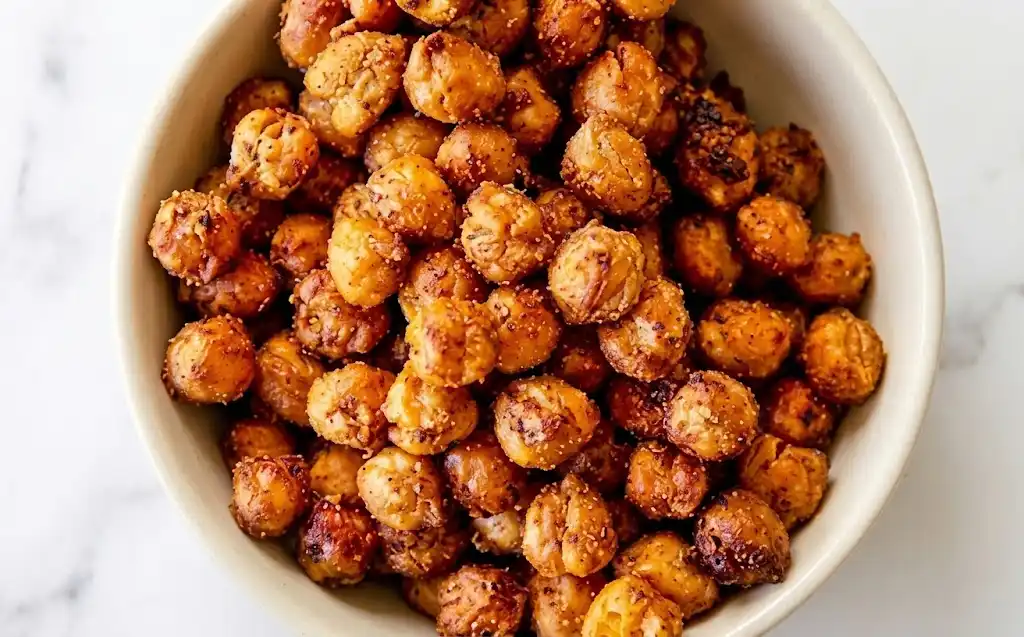
Tip the hot chickpeas into a bowl and immediately toss them with your ground spices (like smoked paprika, cumin, and garlic powder) so the spices toast beautifully without scorching. Let them cool for 5 to 10 minutes before eating—they actually get even crispier as they sit!
Why This Method Works (and How to Fix It If It Doesn’t)
The Real Secret: Getting Them Bone-Dry First
If there’s one step that decides whether this recipe works, it’s drying. Any surface moisture left on the chickpeas turns to steam in the air fryer, and steam softens rather than crisps. If you’re short on time, at minimum pat them dry thoroughly and rub off the loose skins — skipping the towel step entirely is the number one reason people end up with soft, disappointing chickpeas.
Spices Go On After Cooking, Not Before
This is worth repeating because it trips up so many people: ground spices like garlic powder and paprika scorch and turn bitter after 12+ minutes of direct heat. Tossing them on at the very end, while the chickpeas are still hot, gives you all the flavor with none of the burnt taste.
Still Not Crispy Enough? Here’s the Fix
- Still a little chewy in the middle? Give them another 2 minutes and check again — this is completely normal and depends on your specific air fryer.
- Browning too fast on the outside? Drop the temperature by 10–15°F for the next batch.
- Crisping unevenly? Shake the basket more often, and don’t crowd it — a single, uncrowded layer is what lets hot air reach every chickpea.
How to Store Air Fryer Chickpeas So They Stay Crisp
Air fryer chickpeas are at their absolute crispiest the day you make them, so this is genuinely a “make it and eat it soon” kind of snack. That said, if you let them cool completely (30 minutes or so) before storing, and keep them in a container with the lid slightly cracked, or in a paper bag at room temperature, they’ll hold good crunch for a couple of days and stay perfectly edible for up to about a week, just a bit softer toward the end. Sealing them up while they’re even slightly warm traps steam and undoes all your hard work, so don’t rush that step — it’s the same cool-before-you-cover principle behind general food storage guidance for keeping cooked foods safe and fresh.
I don’t recommend freezing these — like most crispy roasted foods, the texture doesn’t come back the same after thawing, so it’s better to just make a fresh batch when the craving hits.
How to Re-Crisp Leftover Chickpeas
If a batch softens up in storage, don’t toss it. Spread the chickpeas back in the air fryer at 350°F for 2 to 3 minutes, and they’ll crisp right back up.
Creative Ways to Use Crispy Chickpeas
- Salad topper: Use them in place of croutons for crunch without the bread.
- Soup and bowl garnish: Scatter a handful over blended soups, or stir some into a Mediterranean chickpea bowl for texture and a protein boost.
- Snack mix: Toss with roasted nuts and dried fruit for an easy homemade trail mix, or serve them on their own with a cold drink.
Nutrition (estimated, per serving — recipe serves 4):
| Nutrient | Amount |
|---|---|
| Calories | 130kcal |
| Carbohydrates | 17g |
| Protein | 6g |
| Fat | 5g |
| Saturated Fat | 1g |
| Sodium | 430mg |
| Potassium | 220mg |
| Fiber | 5g |
| Sugar | 1g |
Air Fryer Chickpeas FAQ
Do I really need to dry the chickpeas first?
Yes — this is the step that makes or breaks the recipe. Any leftover moisture steams the chickpeas instead of crisping them, so pat them dry and, if you have the time, let them air-dry for 10 to 15 minutes before they go anywhere near the oil.
What’s the best air fryer temperature and time for chickpeas?
390–400°F for 12 to 15 minutes is the sweet spot for most air fryers, shaking the basket every 3 to 4 minutes. Every model runs a little differently, so treat 12 minutes as your first checkpoint, not the finish line.
Can I make air fryer chickpeas without oil?
You can cut the oil down to a couple of teaspoons and still get decent results, but a light coating of oil is really what helps them brown and crisp, so going fully oil-free will noticeably soften the crunch.
Why did my spices taste burnt or bitter?
This almost always means the ground spices went in before cooking. Garlic powder, paprika, and chili powder scorch under 12+ minutes of direct heat. Toss them on after the chickpeas come out of the air fryer instead, while they’re still hot, and you’ll get all the flavor with none of the bitterness.
Air Fryer Chickpeas Crispy

Equipment
- Air fryer
Ingredients
- 1 can 15 oz / 425 g chickpeas (garbanzo beans), drained and rinsed
- 1 tablespoon olive oil
- ½ teaspoon kosher salt
- ½ teaspoon smoked paprika
- ½ teaspoon ground cumin
- ¼ –½ teaspoon garlic powder optional
- ¼ –½ teaspoon chili powder or black pepper optional
- 1 –2 teaspoons sugar optional
Instructions
- Drain and rinse the chickpeas well in a fine-mesh strainer.
- Spread on a clean towel, pat completely dry, and let air-dry 10–15 minutes. Rub off loose skins if you like.
- Toss with the olive oil, salt, and sugar (if using) — hold off on the ground spices.
- Preheat the air fryer to 390–400°F for about 3 minutes.
- Air fry in a single, uncrowded layer for 12–15 minutes, shaking every 3–4 minutes.
- Taste-test around 12 minutes; continue in 2-minute increments if needed.
- Toss the hot chickpeas immediately with the smoked paprika, cumin, garlic powder, and chili powder.
- Let cool 5–10 minutes before serving — they crisp further as they cool.
Notes


Isabella Rossi
Isabella Rossi is a chef and culinary director with over 20 years of experience in European kitchens. She reviews and approves every recipe to ensure accuracy, balance, and reliable results for home cooks.
VIEW ALL RECIPES